js版本的appium测试框架
了解jest
包管理器安装Jest:
npm install --save-dev jest
jest-diff
数据更改的可视化工具。 输出一个函数,两个任何类型的值输入该函数后,返回一个“较易读”的字符串来展现其区别。
类似网上json对象比较两个有哪些差异
const {diff} = require('jest-diff');
const a = {a: {b: {c: 5}}};
const b = {a: {b: {c: 6}}};
const result = diff(a, b);
// 打印两个值的差异
console.log(result);
jest-get-type
用于识别任何 JavaScript 值的原始类型的模块, 模块导出了一个可以识别传入参数类型并将类型以字符串作为返回值的函数。
const {getType} = require('jest-get-type');

const array = [1, 2, 3];
const nullValue = null;
const undefinedValue = undefined;

// prints 'array'
console.log(getType(array));
// prints 'null'
console.log(getType(nullValue));
// prints 'undefined'
console.log(getType(undefinedValue));
jest+appium+异步自动化数据驱动
首先定义启动参数
param.json
{
    "platformName": "Android",
    "automationName": "UiAutomator2",
    "deviceName": "huawei",
    "appPackage": "com.app.packages",
    "appActivity": "com.app.packages/.startActivity",
    "autoAcceptAlerts": true,
    "noReset": true
}
添加数据内容
testData.js
const testUrls = [
  {
    name: "测试搜索-手机辐射",
    url: "https://m.baidu.com/s?word=手机放枕头边会有辐射吗?",
    expectedTitle: "手机放枕头边会有辐射吗"
  },
  {
    name: "测试搜索-天气",
    url: "https://m.baidu.com/s?word=今天天气",
    expectedTitle: "今天天气"
  },
  {
    name: "测试搜索-新闻",
    url: "https://m.baidu.com/s?word=今日新闻",
    expectedTitle: "今日新闻"
  }
];
module.exports = { testUrls };
jest运行的配置文件
jest.config.js
module.exports = {
  testEnvironment: 'node', // 或其他适合你的环境
  testMatch: ['**/__tests__/**/*.test.js', '**/?(*.)(spec|test).js'], // 测试文件的匹配模式
  reporters: [
    'default'// 使用 Jest 的默认报告器
    // ['./your-custom-reporter.js', { /* 自定义报告器的配置 */ }] // 假设你有一个自定义报告器
  ],
  // 其他配置...
};
appium的驱动采用webdriverio库
在AppiumTest.js中
先安装库:npm install webdriverio
接着从param.json中读取启动参数
// 读取参数文件
const paramsPath = path.join(__dirname, 'param.json');
const params = JSON.parse(fs.readFileSync(paramsPath, 'utf8'));
const capabilities = {
  platformName: params.platformName,
  'appium:automationName': params.automationName,
  'appium:deviceName': params.deviceName,
  'appium:appPackage': params.appPackage,
  'appium:appActivity': params.appActivity,
  'appium:autoAcceptAlerts': params.autoAcceptAlerts,
  'appium:noReset': params.noReset
};
在定义连接appium服务器参数
const wdOpts = {
    hostname: process.env.APPIUM_HOST || '127.0.0.1',
    port: parseInt(process.env.APPIUM_PORT, 10) || 4723,
    logLevel: 'info',
    capabilities,
  };
接下来就是异步函数执行测试内容
async function runSearchTest(searchUrl) {
  const driver = await remote(wdOpts);
  try {
    console.log(`开始测试 URL: ${searchUrl}`);
    const el1 = await driver.$("id:com.baidu.searchbox:id/search_box_logo_1");
    // await searchBox.waitForDisplayed({ timeout: 5000 });
    await el1.click();
    await driver.pause(1000);
    const el2 = await driver.$("id:com.baidu.searchbox:id/SearchTextInput");
    // await el2.addValue("https://m.baidu.com/s?word=手机放枕头边会有辐射吗?&sid=14121747");
    await driver.pause(1000);
    await el2.addValue(searchUrl);

    const el3 = await driver.$("id:com.baidu.searchbox:id/float_search_or_cancel");
    await el3.click();
    await driver.pause(2000);
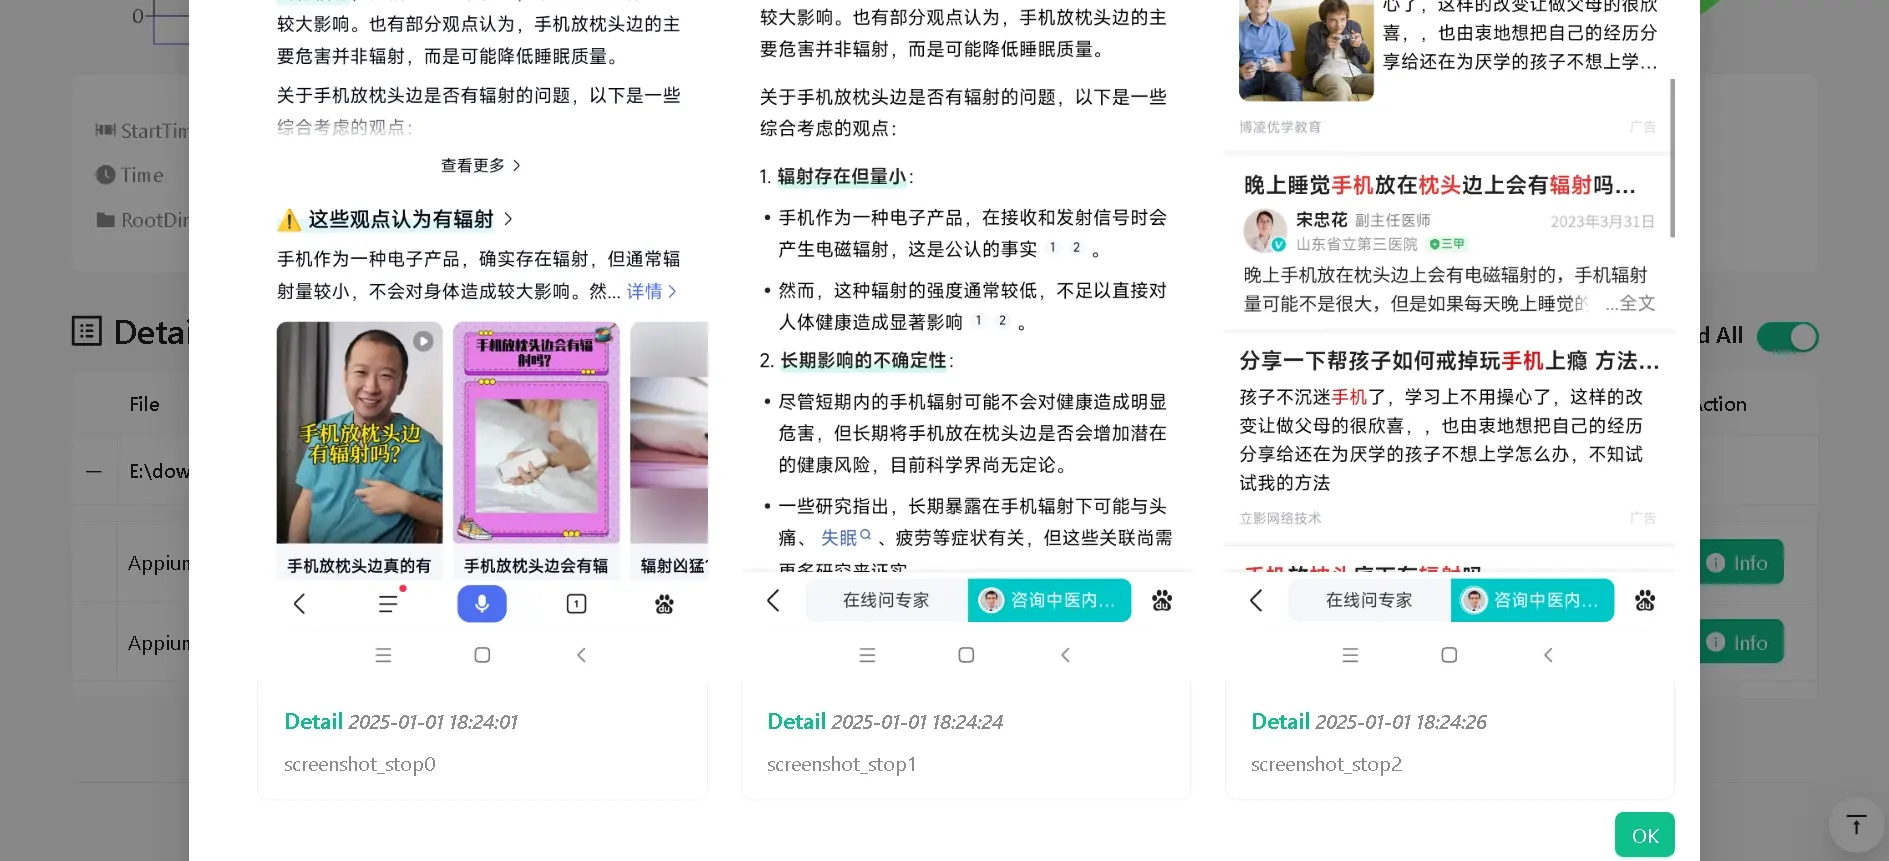
    await driver.saveScreenshot(`./test-results/search-${Date.now()}.png`);
    await driver.action('pointer')
      .move({ duration: 0, x: 571, y: 991 })
      .down({ button: 0 })
      .pause(50)
      .up({ button: 0 })
      .perform();
    await driver.pause(3000);
    await driver.saveScreenshot(`./test-results/search-${Date.now()}.png`);
    await driver.action('pointer')
      .move({ duration: 0, x: 566, y: 2073 })
      .down({ button: 0 })
      .move({ duration: 1000, x: 616, y: 416 })
      .up({ button: 0 })
      .perform();
    await driver.executeScript("mobile: pressKey", [{"keycode":4}]);
    await driver.executeScript("mobile: pressKey", [{"keycode":4}]);
    console.log(`测试完成: ${searchUrl}`);
  }catch (error) {
    console.error('测试执行错误:', error);
    // 错误时截图
    try {
      await driver.executeScript("mobile: pressKey", [{"keycode":4}]);
      await driver.saveScreenshot(`./test-results/error-${Date.now()}.png`);
    } catch (screenshotError) {
      console.error('截图失败:', screenshotError);
    }
    throw error;
  }finally {
      await driver.pause(1000);
      await driver.deleteSession();
  }
}
最后只需要在appiumTest.test.js中导入刚才的文件,在进行参数驱动执行即可
执行顺序参考jest文档中的内容
Jest 会在所有真正的测试开始之前执行测试文件里所有的 describe 处理程序
就像 Jest 调用的 describe 和 test 块一样,它会按照声明的顺序调用 before* 和 after* 钩子。请注意,首先调用的是封装作用域的 after* 钩子
describe('describe outer', () => {
  console.log('describe outer-a');

  describe('describe inner 1', () => {
    console.log('describe inner 1');

    test('test 1', () => console.log('test 1'));
  });

  console.log('describe outer-b');

  test('test 2', () => console.log('test 2'));

  describe('describe inner 2', () => {
    console.log('describe inner 2');

    test('test 3', () => console.log('test 3'));
  });

  console.log('describe outer-c');
});

// describe outer-a
// describe inner 1
// describe outer-b
// describe inner 2
// describe outer-c
// test 1
// test 2
// test 3
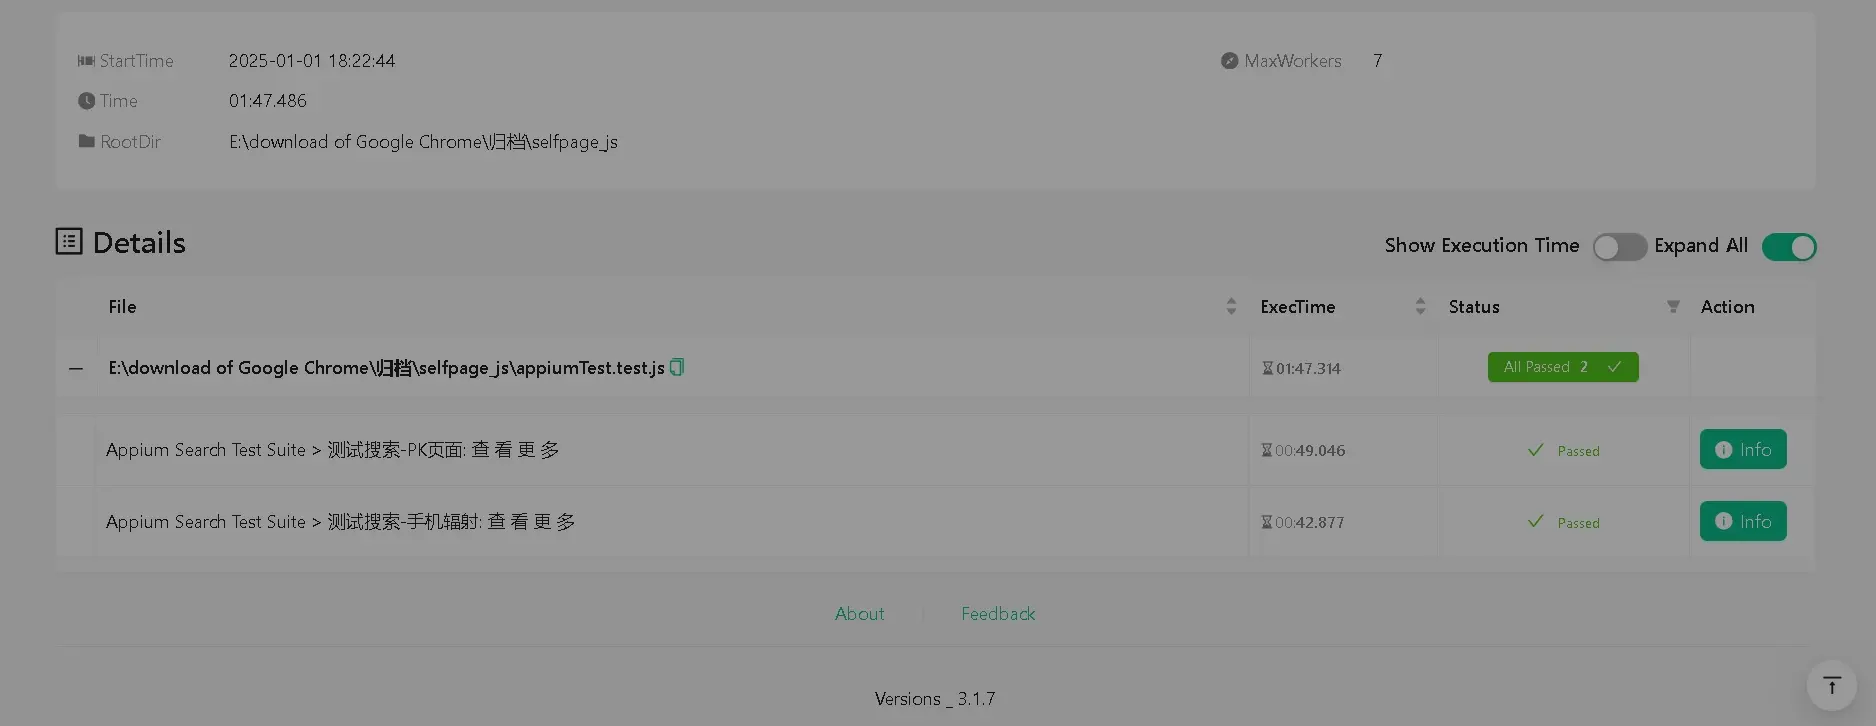
最后循环执行用例,最后生成到报告中
describe('Appium Search Test Suite', () => {
  // 设置更长的超时时间
  jest.setTimeout(180000); // 3分钟总超时
  // 在所有测试开始前执行
  beforeAll(async () => {
    console.log('开始测试套件...');
    reporter.info('Test Suite Started');
  });

  testUrls.forEach(({ name, url, expectedTitle }) => {
    it(`${name}: ${expectedTitle}`, async () => {
      try {
        await runSearchTest(url);
        reporter.pass('Test Case Passed'); // 记录通过的测试
      } catch (error) {
        reporter.fail('Test Case Failed', err); // 记录失败的测试
        console.error(`测试 "${name}" 失败:`, error);
        throw error;
      }
    });

    afterEach(async () => {
      await new Promise(resolve => setTimeout(resolve, 2000));
    });
  });
  afterAll(async () => {
    console.log('测试套件完成');
    reporter.end(); // 结束报告
    await new Promise(resolve => setTimeout(resolve, 1000));
  });
});
QA
需要注意点击操作后强制睡眠几秒,不然会出现控制台异常
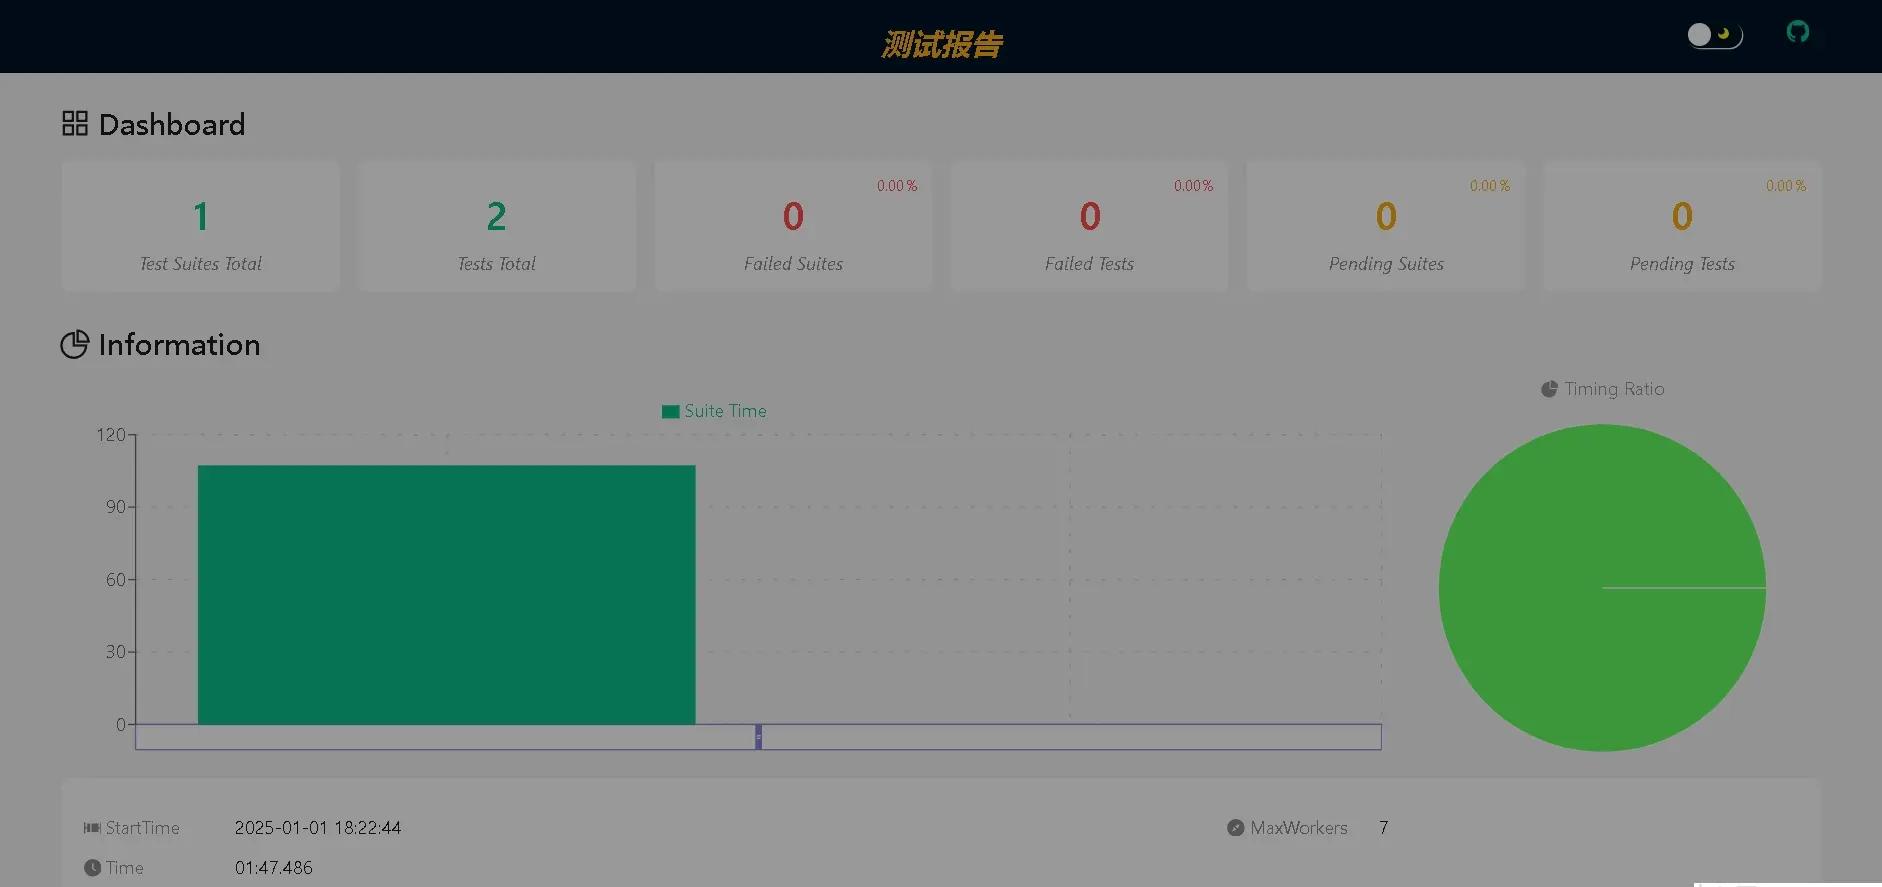
使用jest-html-reporter生成报告
使用官方模板只需要修改
/** @type {import('jest').Config} */
module.exports = {
  testEnvironment: 'node',js
  testTimeout: 60000,
  reporters: [
    'default',
    ['jest-html-reporters', {
      publicPath: './reports',
      filename: 'report.html',
      inlineSource: true,
      pageTitle: '测试报告',
      expand: true
    }]
  ]
};


